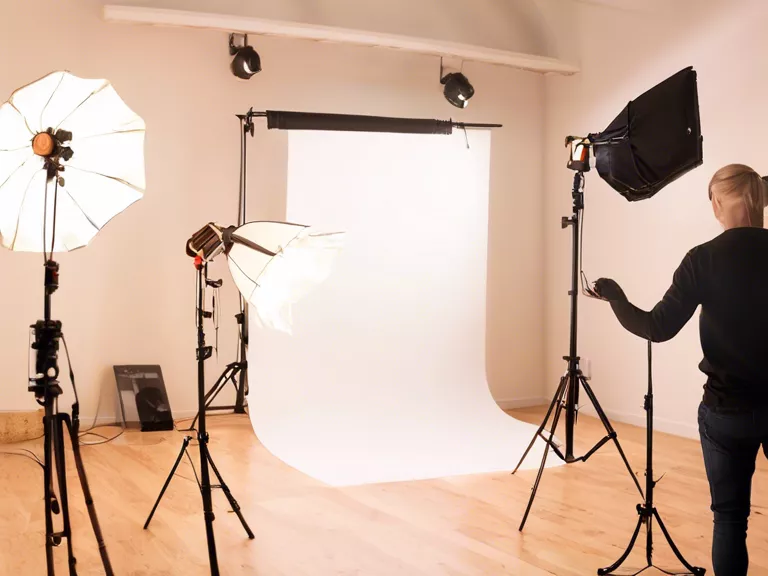
Tripods are essential tools for photographers looking to improve the quality of their photos. By stabilizing your camera, tripods can help eliminate camera shake and ensure sharp, crisp images. However, simply having a tripod is not enough; knowing how to properly use it can make all the difference in your photography. Here are some best practices for using a tripod to improve your photo quality:
Choose a sturdy tripod: Invest in a quality tripod that can support the weight of your camera and lens. A flimsy tripod will not provide the stability you need for sharp photos, especially in windy conditions.
Extend the legs fully: Make sure to fully extend the tripod legs to their maximum height for added stability. Avoid extending the center column too much, as this can compromise the tripod's stability.
Use a remote shutter release or self-timer: Minimize camera shake by using a remote shutter release or the camera's self-timer function to trigger the shutter. This will prevent any movement caused by pressing the shutter button manually.
Adjust the height and angle: Experiment with different heights and angles to find the best composition for your shot. A tripod allows you to easily adjust the camera's position without having to hold it yourself.
Lock the tripod head: Once you have your composition set up, remember to lock the tripod head to prevent any unwanted movement. This will ensure that your camera stays in position throughout the shoot.
By following these best practices, you can maximize the benefits of using a tripod and take your photography to the next level. Whether you're shooting landscapes, portraits, or long exposures, a tripod can make a significant difference in the quality of your photos.