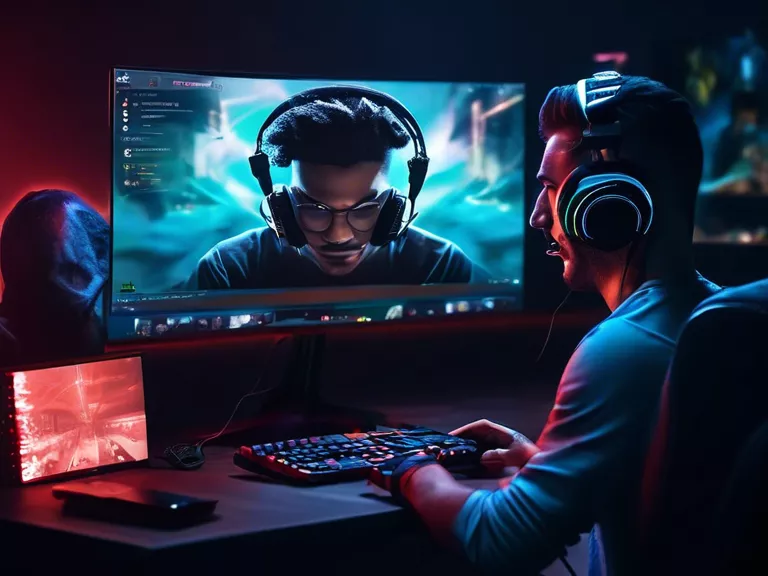
How to Set Up a Gaming Stream with High-Quality Audio and Video
Are you interested in starting your own gaming stream but not sure where to begin with audio and video quality? Don't worry, we've got you covered! Follow these steps to set up a gaming stream that will wow your viewers with crystal-clear audio and high-definition video.
Step 1: Select the Right Hardware
Invest in a good microphone and camera. A high-quality microphone will ensure your voice is clear and easy to understand, while a good camera will provide sharp video quality. Consider a USB condenser microphone and a webcam capable of recording in at least 1080p.
Step 2: Set Up Proper Lighting
Proper lighting is key to achieving great video quality. Position lights in front of you, facing your face evenly to avoid shadows. Softbox lights or ring lights are popular choices for streamers as they provide even, flattering lighting.
Step 3: Use a Capture Card
If you're gaming on a console, a capture card will allow you to transfer game footage to your computer for streaming. Look for a capture card with low latency and high-quality video output for the best results.
Step 4: Optimize Your Stream Settings
Adjust your streaming settings for optimal audio and video quality. Set your resolution to 1080p and bitrate to at least 6000 kbps for crisp, clear video. Use software like OBS Studio to customize your stream settings to your liking.
Step 5: Test and Adjust
Before going live, do a test stream to make sure everything is working properly. Check your audio levels, video quality, and overall stream performance. Make any necessary adjustments to ensure your viewers have the best experience possible.
By following these steps, you can set up a gaming stream with high-quality audio and video that will impress your audience and keep them coming back for more!


